

Create videos from code snippets with this Node.js script
Code snippets to animated videos, automatically!
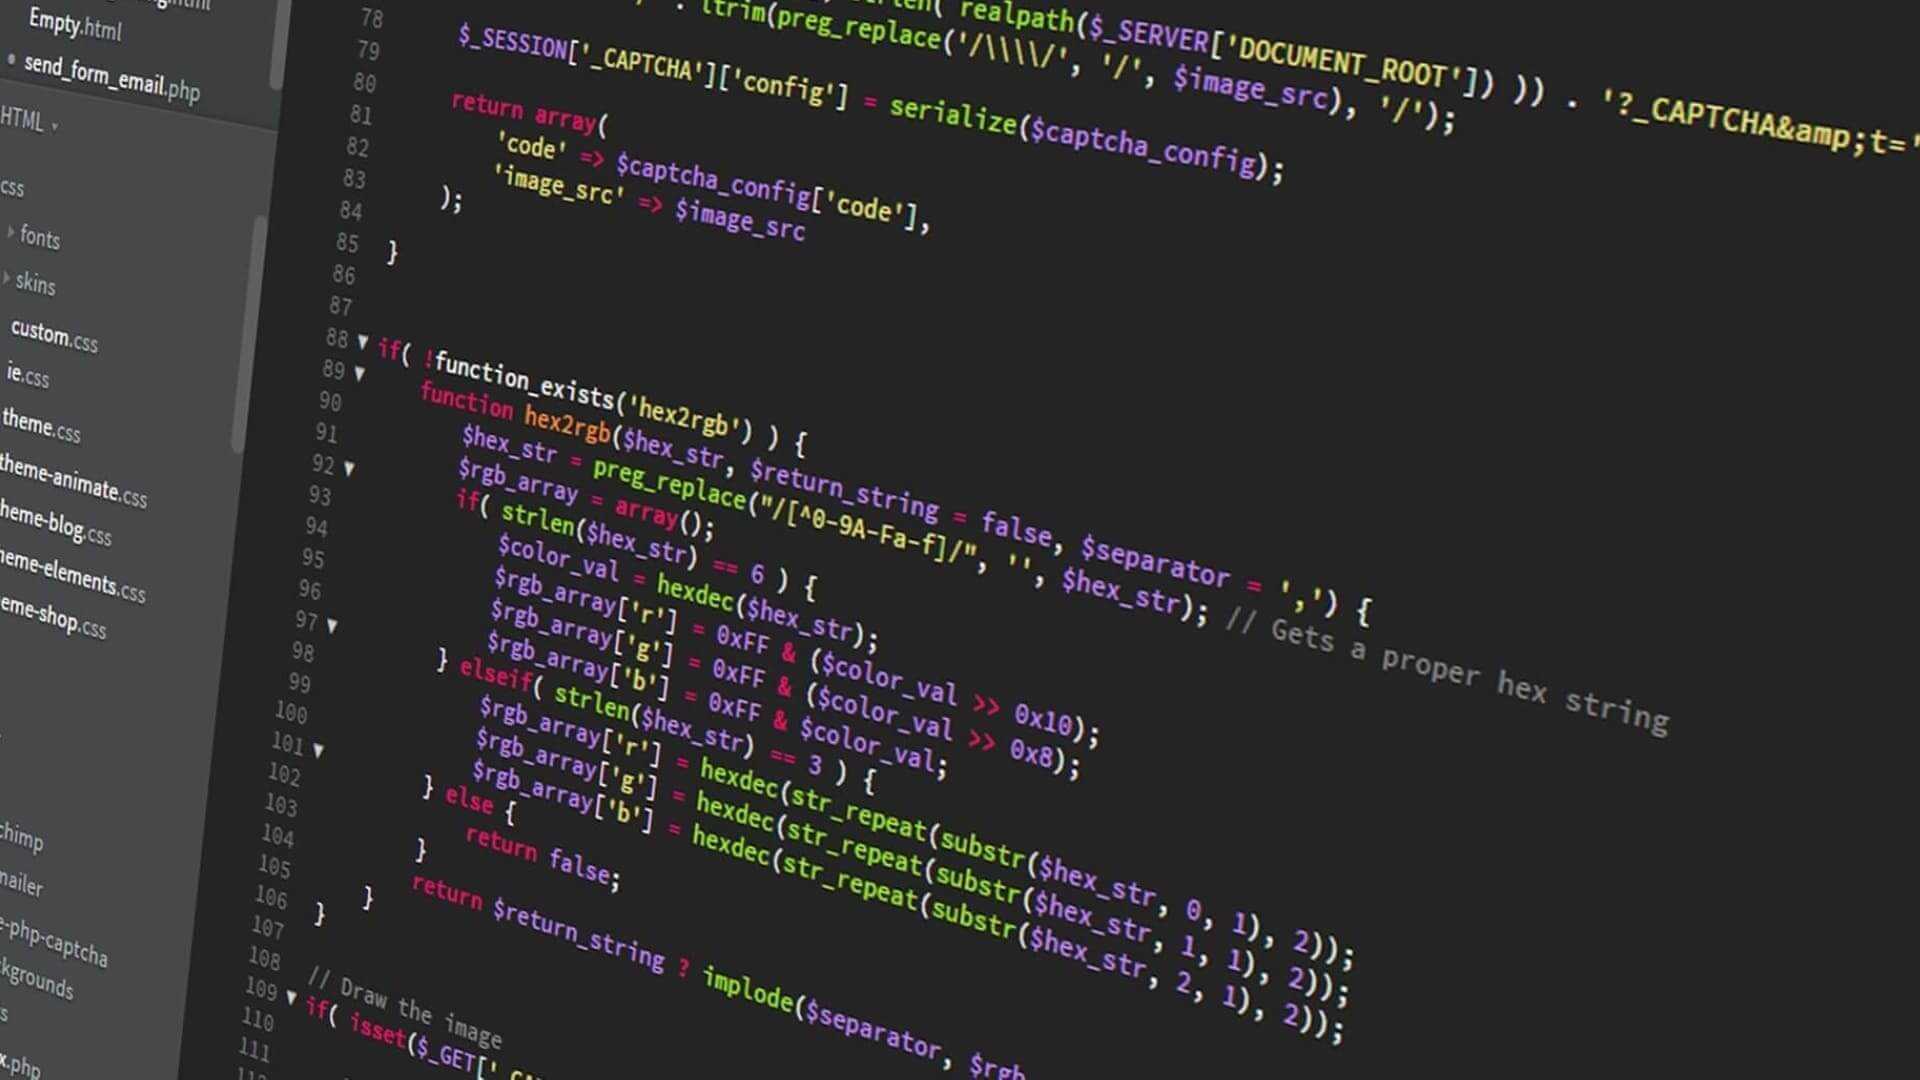
Written in January 4, 2022 - 🕒 6 min. readWhen I was working on my Game Devlog videos, I wondered if there was any way to automatically transform my code snippets into a video, so I could add them to my Devlog, but I couldn’t find any solution for it, so I gave up on this idea.
Then a couple of weeks ago I was playing around with AST and rendering React via Node.js with Babel when I had the idea to use Puppeteer to open a headless browser and record a page with my code snippet.
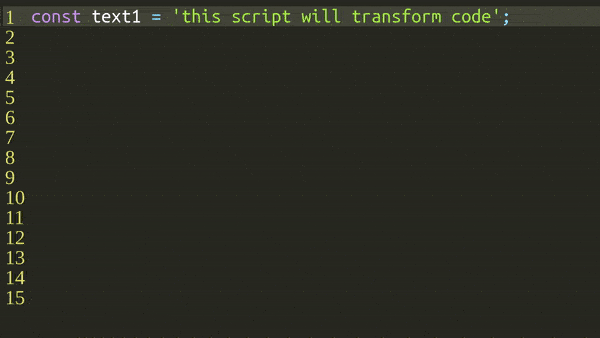
The goal is for the result to be like the following GIF.
Let’s get coding
I will start by creating a script.js to be run via terminal using node.
require('@babel/register');

const { readFileSync } = require('fs');
const puppeteer = require('puppeteer');
const { PuppeteerScreenRecorder } = require('puppeteer-screen-recorder');

// Utils
const { generateHtml } = require('./utils');

// Constants
const SCALE = 4;

const generateVideo = async (filePath) => {
    // TODO
};

// get node script param
const filePath =
    process.argv[2] || './examples/Test.jsx';

generateVideo(filePath);
My code will use ES Modules, so I will install esm so I can run my script like node -r esm src/script.js my_file.js.
For the generateVideo function, I will follow the Puppeteer’s quick-start example to open a headless browser and then start recording it with puppeteer-screen-recorder.
const generateVideo = async (filePath) => {
    // load file content
    const code = readFileSync(filePath, {
        encoding: 'utf8',
    });
    const lines = code.split('\n');

    // Puppeteer config
    const browser = await puppeteer.launch({
        headless: true,
        args: ['--window-size=1920,1080'],
        defaultViewport: {
            width: 1920,
            height: 1080,
        },
    });

    // open a new empty page
    const page = await browser.newPage();
    const config = {
        followNewTab: false,
        fps: 25,
        ffmpeg_Path: null,
        videoFrame: {
            width: 1920,
            height: 1080,
        },
        aspectRatio: '16:9',
    };

    const recorder = new PuppeteerScreenRecorder(
        page,
        config
    );

    // start recording
    await recorder.start('./output.mp4');
    await page.setContent('<p>Hello World</p>');

    await page.waitForTimeout(1000);

    await recorder.stop();
    await browser.close();
};
This will open a headless browser tab, set the HTML to <p>Hello World</p> and make a 1-second video of it. That’s not what I want, but I will get there.
Rendering a React component
Now I will create a function that receives the code snippet as a parameter and then render a beautiful syntax highlighted code in HTML format using Prism.js.
With Prism.highlight I can pass a code string and get an HTML with the syntax-highlighted code and renderToStaticMarkup to render the React component to an HTML string. I don’t need React here, but since the whole idea started with React and Babel, I kept it.
import React from 'react';
import { renderToStaticMarkup } from 'react-dom/server';
import { JSDOM } from 'jsdom';
import { readFileSync } from 'fs';

// Prism.js
import Prism from 'prismjs';
import loadLanguages from 'prismjs/components/';

// My custom React component
import CodeHighlighter from './CodeHighlighter.jsx';

const styling = readFileSync(
    './node_modules/prism-themes/themes/prism-material-dark.css',
    { encoding: 'utf8' }
);

export const generateHtml = (
    code,
    currentLine,
    totalLines,
    language
) => {
    loadLanguages([language]);
    const codeHtml = Prism.highlight(
        code,
        Prism.languages[language],
        language
    );

    // get HTML string
    const html = renderToStaticMarkup((
        <CodeHighlighter
            codeHtml={codeHtml}
            totalLines={totalLines}
            currentLine={currentLine}
        />
    ));

    const { window } = new JSDOM(html);
    const { document } = window;

    // Add Prism.js styling to the HTML document
    const style = document.createElement('style');
    style.textContent = styling;
    document.head.appendChild(style);

    return document.getElementsByTagName('html')[0].outerHTML;
};
Other than code, the generateHtml function also receives currentLine and totalLines as parameters. currentLine will be used to highlight the current line of code, and totalLines to show the line numbers on the left.
The React component
The basic implementation of the CodeHighlighter I will simply return a code tag with the dangerouslySetInnerHTML set to the Prism.js HTML.
import React from 'react';

const SCALE = 4;

function CodeHighlighter({
    codeHtml,
    totalLines,
    currentLine,
}) {
    return (
        <html lang="en">
            <body
                style={{
                    width: `${1920 / SCALE}px`,
                    height: `${1080 / SCALE}px`,
                    background: '#272822',
                    transform: `scale(${SCALE})`,
                    transformOrigin: '0% 0% 0px',
                    margin: 0,
                }}
            >
                <div
                    style={{
                        display: 'flex',
                        margin: '20px 0 0 2px',
                    }}
                >
                    <pre
                        style={{
                            margin: 0,
                        }}
                    >
                        <code
                            style={{
                                fontFamily: "Consolas,Monaco,'Andale Mono','Ubuntu Mono',monospace",
                            }}
                            dangerouslySetInnerHTML={{
                                __html: codeHtml,
                            }}
                        />
                    </pre>
                </div>
            </body>
        </html>
    );
}

export default CodeHighlighter;
The code above is still missing the line highlighter and the line numbers, for that I will use the totalLines variable to create the line numbers, and currentLine to create a div with full width and move it with the margin-top CSS property. Check the full code for this React component on GitHub.
import React from 'react';

const SCALE = 4;

function CodeHighlighter({
    codeHtml,
    totalLines,
    currentLine,
}) {
    // add the line numbers
    const lines = new Array(totalLines).fill(null).map((v, index) => ((
        <span
            key={index}
            style={{
                height: '16px',
                width: `${8 * (totalLines).toString().length}px`,
            }}
        >
            {index + 1}
        </span>
    )));

    return (
        <html lang="en">
            <style
                dangerouslySetInnerHTML={{
                    __html: `
                    body { color: white; }
                `,
                }}
            />
            <body
                style={{
                    width: `${1920 / SCALE}px`,
                    height: `${1080 / SCALE}px`,
                    background: '#272822',
                    transform: `scale(${SCALE})`,
                    transformOrigin: '0% 0% 0px',
                    margin: 0,
                }}
            >
                <div
                    style={{
                        display: 'flex',
                        margin: '20px 0 0 2px',
                    }}
                >
                    <div
                        style={{
                            width: '100%',
                            position: 'absolute',
                            height: `${4 * SCALE}px`,
                            backgroundColor: '#44463a',
                            zIndex: -1,
                            marginTop: `${16 * currentLine}px`,
                        }}
                    />
                    <div
                        style={{
                            display: 'grid',
                            margin: '0 5px 0 2px',
                            color: '#DD6',
                        }}
                    >
                        {lines}
                    </div>
                    <pre
                        style={{
                            margin: 0,
                        }}
                    >
                        <code
                            style={{
                                fontFamily: "Consolas,Monaco,'Andale Mono','Ubuntu Mono',monospace",
                            }}
                            dangerouslySetInnerHTML={{
                                __html: codeHtml,
                            }}
                        />
                    </pre>
                </div>
            </body>
        </html>
    );
}

export default CodeHighlighter;
Now in the script, I can get the syntax highlighted HTML string and set it as the headless browser HTML.
const page = await browser.newPage();

const html = generateHtml(
    code,
    0,
    lines.length,
    'javascript'
);

await page.setContent(html);
Showing code line by line
For now, I’m dumping all the code into the React component, but ideally, the code should be shown line by line, for that, I will loop through the lines array and then add line by line to a new array and pass it to the generateHtml function.
const page = await browser.newPage();

let index = 0;
let codeToParse = [];
const scrollThreshold = 9;

for (const line of lines) {
    codeToParse.push(line);

    const html = generateHtml(
        codeToParse.join('\n'),
        index,
        lines.length + scrollThreshold,
        language
    );

    await page.setContent(html);

    await page.waitForTimeout(1000);
    index += 1;
}

await browser.close();
This works but the problem is that if the code is too long, then the browser needs to scroll down to follow the new lines, for that I need to use the loop index variable to keep track of the current line and use the Puppeteer’s page.evaluate() to scroll the page down using the page’s window object.
const page = await browser.newPage();

let index = 0;
let prevPosY = 0;
const basePosY = 7;
let codeToParse = [];
const scrollThreshold = 8;

for (const line of lines) {
    codeToParse.push(line);

    // get full page HTML
    const html = generateHtml(
        codeToParse.join('\n'),
        index,
        lines.length + scrollThreshold,
        language
    );

    // set page HTML
    await page.setContent(html);

    const diff = index - scrollThreshold;
    const posY = Math.max(
        (basePosY + (16 * diff)) * SCALE,
        0
    );

    // scroll down or up if needed
    if (prevPosY !== posY) {
        await page.evaluate((posY) => {
            window.scrollTo({
                top: posY,
                behavior: 'smooth',
            });
        }, posY);
    }

    await page.waitForTimeout(1000);
    prevPosY = posY;
    index += 1;
}

await browser.close();
Conclusion
You can access the full code from this blog post in my GitHub repo in the git hash d595cf30cec13021fb857f9acb83a853e26610d7.
The project started with this code, but it has now grown a little, and the current code in the main branch of the repo has a typing effect for each letter, which makes it way nicer. Feel free to dive into the code on the code-video-creator project page.
I hope this was somehow insightful for you, please leave a comment if you have any questions. See you in the next one!
Tags:
Related posts
Post a comment
Comments
No comments yet.