Creating a Matrix Source-Code effect background for my website with React
Matrix code background fun with Javascript and Konami Code!
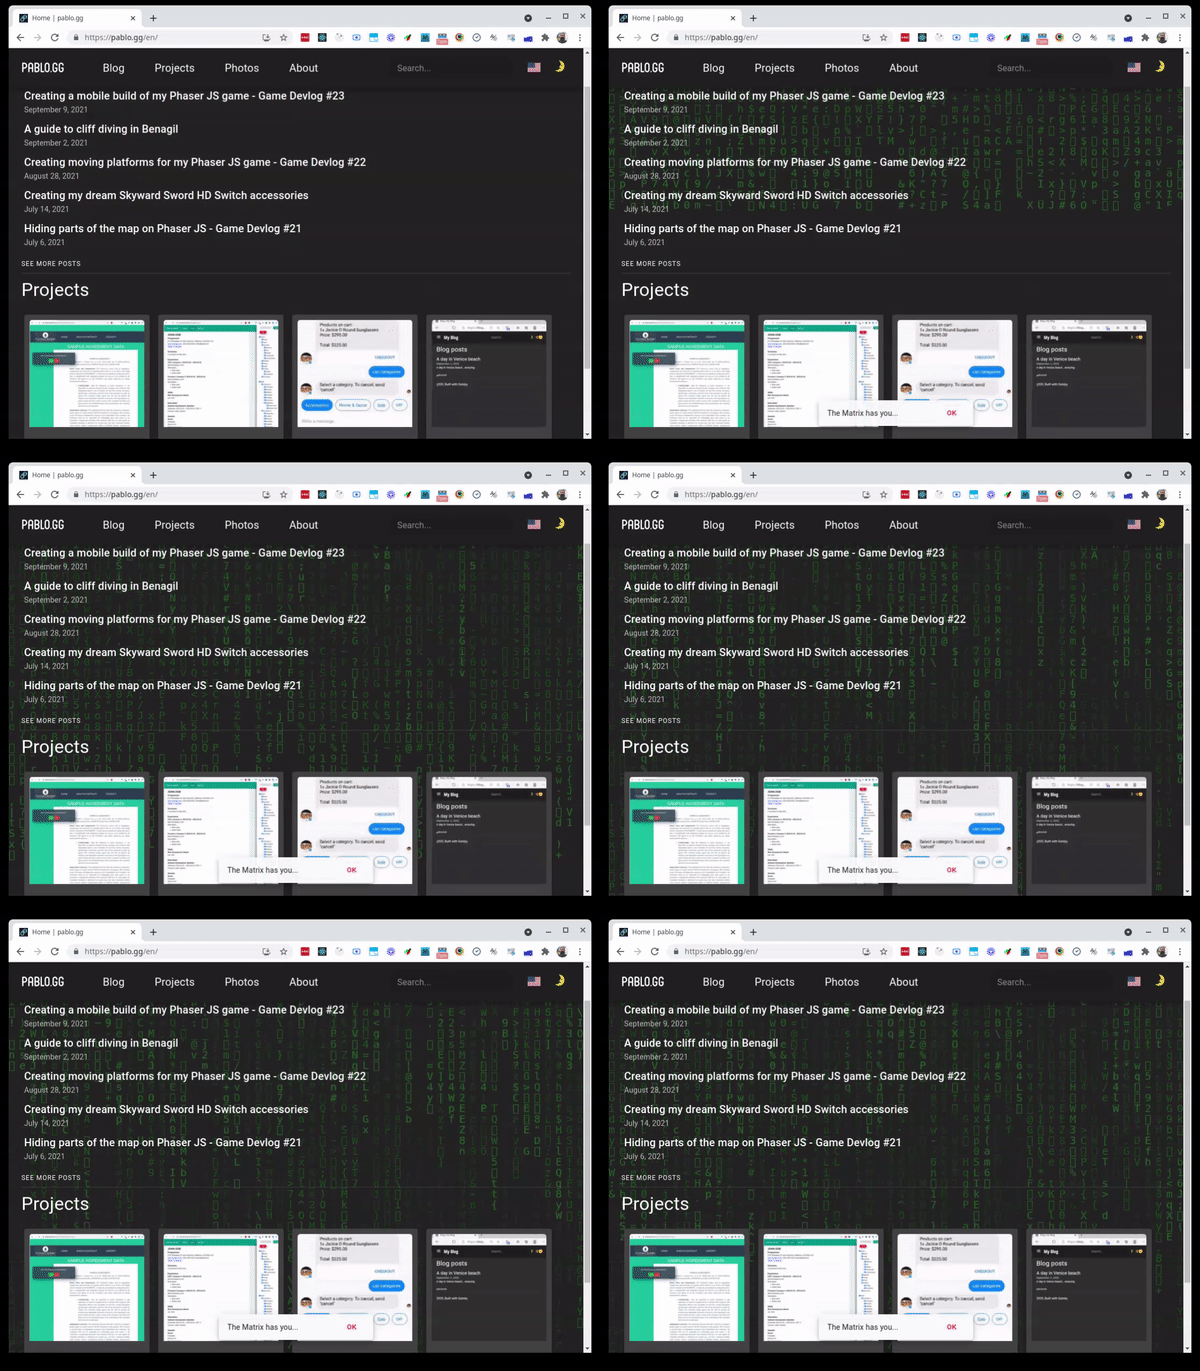
Written in September 16, 2021 - 🕒 2 min. readTo celebrate the release of the Matrix 4 trailer, I want to add a Matrix Source-Code effect background to this website, which is already deployed, and you can test it by using the Konami Code 👀

How to do it with JavaScript?
The best way to do this sort of effect is using the HTML canvas element. Most of the 3D and gaming stuff you see using JavaScript will be rendered in the canvas.
Since I was sure someone already had an article on how to do it, I researched a bit and found this article that shows how to do it with vanilla JavaScript, so let’s adapt Ganesh’s code to a React functional component.
The code
The React functional component is just a wrapper for the code, which will be set up in the useEffect hook. I’ve also added some styles to the canvas element to make it the background of my blog.
import React, { useEffect, useRef } from 'react';

function MatrixBackground({ timeout }) {
    const canvas = useRef();

    useEffect(() => {
        // Ganesh's code go here
    }, [canvas, timeout]);

    return (
        <div
            style={{
                // custom styles to make it show up in the background
                background: '#000000',
                overflow: 'hidden',
                position: 'fixed',
                height: '100%',
                width: '100%',
                zIndex: -1,
                left: '0',
                top: '0',
            }}
        >
            <canvas
                ref={canvas}
            />
        </div>
    );
}

export default MatrixBackground;
For the useEffect with the code, it is simply a copy and paste of the original code, with an additional return statement to clear the setInterval loop being called.
useEffect(() => {
    const context = canvas.current.getContext('2d');

    const width = document.body.offsetWidth;
    const height = document.body.offsetHeight;
    canvas.current.width = width;
    canvas.current.height = height;

    context.fillStyle = '#000';
    context.fillRect(0, 0, width, height);

    // calculate how many 'lines' to show and animate
    const columns = Math.floor(width / 20) + 1;
    const yPositions = Array.from({ length: columns }).fill(0);

    context.fillStyle = '#000';
    context.fillRect(0, 0, width, height);

    const matrixEffect = () => {
        context.fillStyle = '#0001';
        context.fillRect(0, 0, width, height);

        context.fillStyle = '#0f0';
        context.font = '15pt monospace';

        yPositions.forEach((y, index) => {
            const text = String.fromCharCode(Math.random() * 128);
            const x = index * 20;
            context.fillText(text, x, y);

            if (y > 100 + Math.random() * 10000) {
                yPositions[index] = 0;
            } else {
                yPositions[index] = y + 20;
            }
        });
    };

    const interval = setInterval(matrixEffect, timeout);
    return () => {
        clearInterval(interval);
    };
}, [canvas, timeout]);
You can find the full code in this GitHub Gist. Don’t forget to star ✨ 😃
Tags:
Related posts
Post a comment
Comments
No comments yet.


