How to create an offline search page with Gatsby
JAMStack search doesn't have to be a compromise.
Written in May 29, 2021 - 🕒 3 min. readWhen making a JAMStack website, some compromises need to be made, but searching is not one of them, thanks to JavaScript libraries like flexsearch and lunr.js.
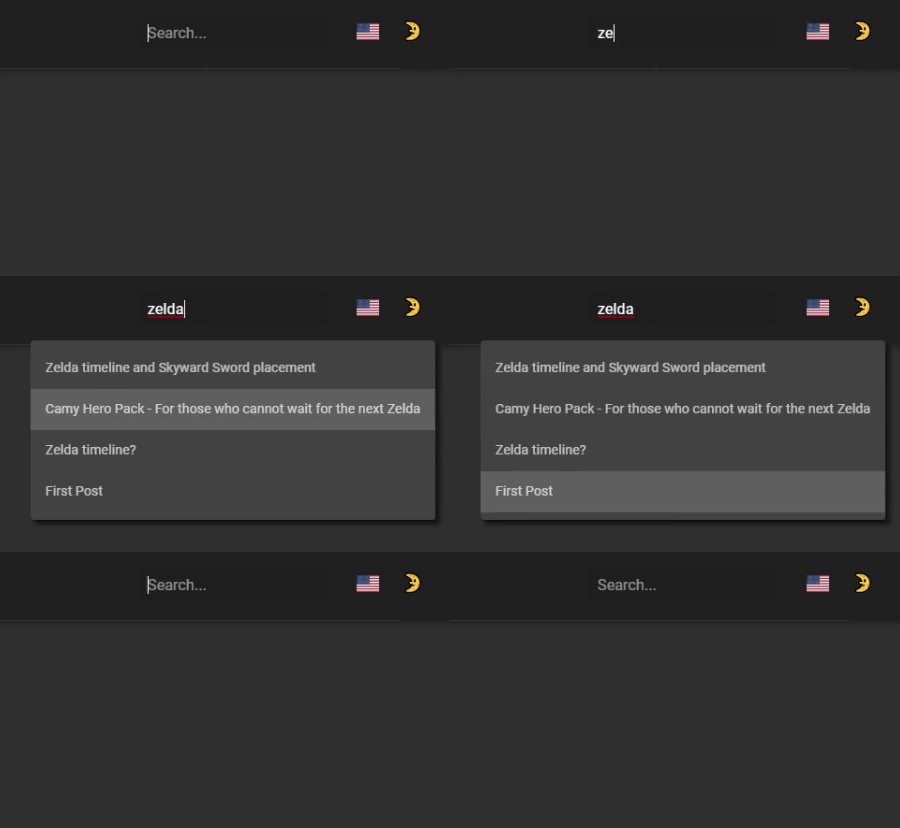
After following this tutorial and combining the code with the Material UI autocomplete component I was able to create the search bar you see in this blog.

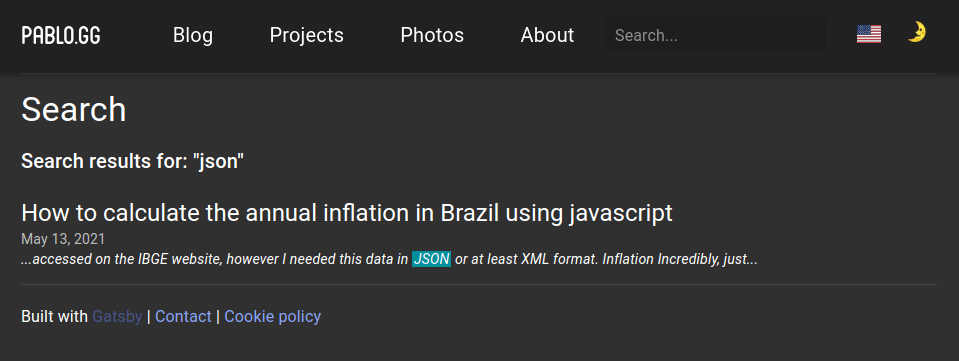
That was already nice, but I’d like to also have a search page, where a query could be matched by the post’s tags, title, and content.
Creating a new search index
First I will add the following code to my Gatsby config, this will create a new localSearchPage index to be queried via GraphQL.
module.exports = [
    ...otherConfigs,
    {
        resolve: 'gatsby-plugin-local-search',
        options: {
            name: 'page',
            query: `
                {
                    allMarkdownRemark(
                        filter: {
                            frontmatter:{ show: { eq: true } }
                        }
                        sort: { fields: [frontmatter___date], order: DESC }
                        limit: 1000
                    ) {
                        edges {
                            node {
                                id
                                fields {
                                    locale
                                    path
                                }
                                frontmatter {
                                    date
                                    title
                                    show
                                    tags
                                }
                                rawMarkdownBody
                            }
                        }
                    }
                }
            `,
            engine: 'flexsearch',
            engineOptions: 'speed',
            ref: 'id',
            index: ['title', 'path', 'tags', 'body'],
            store: ['id', 'path', 'title', 'tags', 'locale', 'body', 'date'],
        },
    },
];
The search page

As shown in the tutorial, the useFlexSearch hook can be used to get the search results, but there is no indication of where the query was matched within the blog post fields.
const urlParams = new URLSearchParams(location.search);
const query = urlParams.get('q') || '';

const results = useFlexSearch(
    query,
    data.localSearchPage.index,
    data.localSearchPage.store
);

const getExcerpt = (post, length = 60) => {
    // magic happens here
};

const posts = useMemo(
    () => results.map(
        (post) => ({
            ...post,
            excerpt: getExcerpt(
                post.excerpt
                    // let's remove any line breaks
                    // or URLS
                    // or remove the markdown tags etc
                    // it would be better to do this in the build process
                    .replace(/(?:https?|ftp):\/\/[\n\S]+/g, '')
                    .replace(/\n/g, ' ')
            ),
        })
    ),
    [results]
);
The function getExcerpt needs to somehow return the excerpt of the blog post with the query highlighted within it.
So I need to find the exact position of the query in the blog post and replace it with an HTML span element like <span>query</span>, and for that, I’m going to use regular expressions.
Also, I will need a function to trim the text and add an ellipsis if needed and this one from StackOverflow will do the job just fine.
    const getExcerpt = useCallback((text, length = 60) => {
        // makes it lowercase to be sure to find it
        const regex = new RegExp(`\\b(${query.toLowerCase()})\\b`);
        const matchedRegex = text.toLowerCase().match(regex);

        if (matchedRegex?.length) {
            // now let's create a regex using the actual word found, capital-sensitive
            const actualQuery = text.substr(matchedRegex.index, query.length);
            const actualRegex = new RegExp(`\\b(${actualQuery})\\b`);

            // start of the excerpt
            const excerptEnd = truncateStringToWord(
                text.substr(matchedRegex.index),
                length,
                true
            );

            // yolo let's reverse the string and use the same function for the
            // beginning of the excerpt too
            const excerptStart = truncateStringToWord(
                text.substr(0, matchedRegex.index).split('').reverse().join(''),
                length,
                true
            );

            const excerpt = `${excerptStart.split('').reverse().join('')}${excerptEnd}`;

            const highlightedQuery = renderToString(
                <span className={classes.highlightedQuery}>
                    {actualQuery}
                </span>
            );

            // if nothing was found it means that the query matched
            // a tag or the post title
            return excerpt.replace(actualRegex, highlightedQuery);
        }

        return truncateStringToWord(text, length, true);
    }, [classes.highlightedQuery, query]);
This code will transform a string like Lorem ipsum dolor sit amet, consectetur adipiscing elit. Sed condimentum risus nec scelerisque auctor into Lorem ipsum dolor sit amet, consectetur <span>adipiscing</span> elit. Sed condimentum risus nec scelerisque auctor when the query is adipiscing, and since this string is in HTML, to display it I will use the dangerouslySetInnerHTML property in an em element.
The reversed usage of truncateStringToWord is a bit hacky, but most of this code can be moved to the Gatsby building process, so the blog performance won’t be impacted.
I hope this blog post was somehow useful for you, you can check how the page looks like by searching for something in this blog. See you in the next one!
Tags:
Related posts
Post a comment
Comments
No comments yet.


